We had to self isolate ourselves with my four-year-old son for the past few days. I knew right away we would need some self-isolation crafts and activities. There was a child in his class that tested positive for Covid. This means we stay home to keep others safe and wait to see if we have Covid symptoms. I’ll be honest, I was not happy when I first heard the news. I was not looking forward to being bored in the house. The Pandemic blues hit me, but I made a plan. To get me through these days, I wanted to do one or two activities a day. Some of them have worked. Some of them have not. This is what we’ve been up to during our days in isolation. Mixed in with the activities I will share, we also had Pre K online meetings, books, more crafts, screen time, and outside play. Our isolation dates were given to us by SHA. They sent a letter through the school, and it started from the date of exposure.
Most of the crafts and activities that we chose were done with items we already had in our house because we couldn’t go out and buy anything. We were lucky because we had two people drop items off for us as well.
Self-Isolation Crafts and Activities
Day One
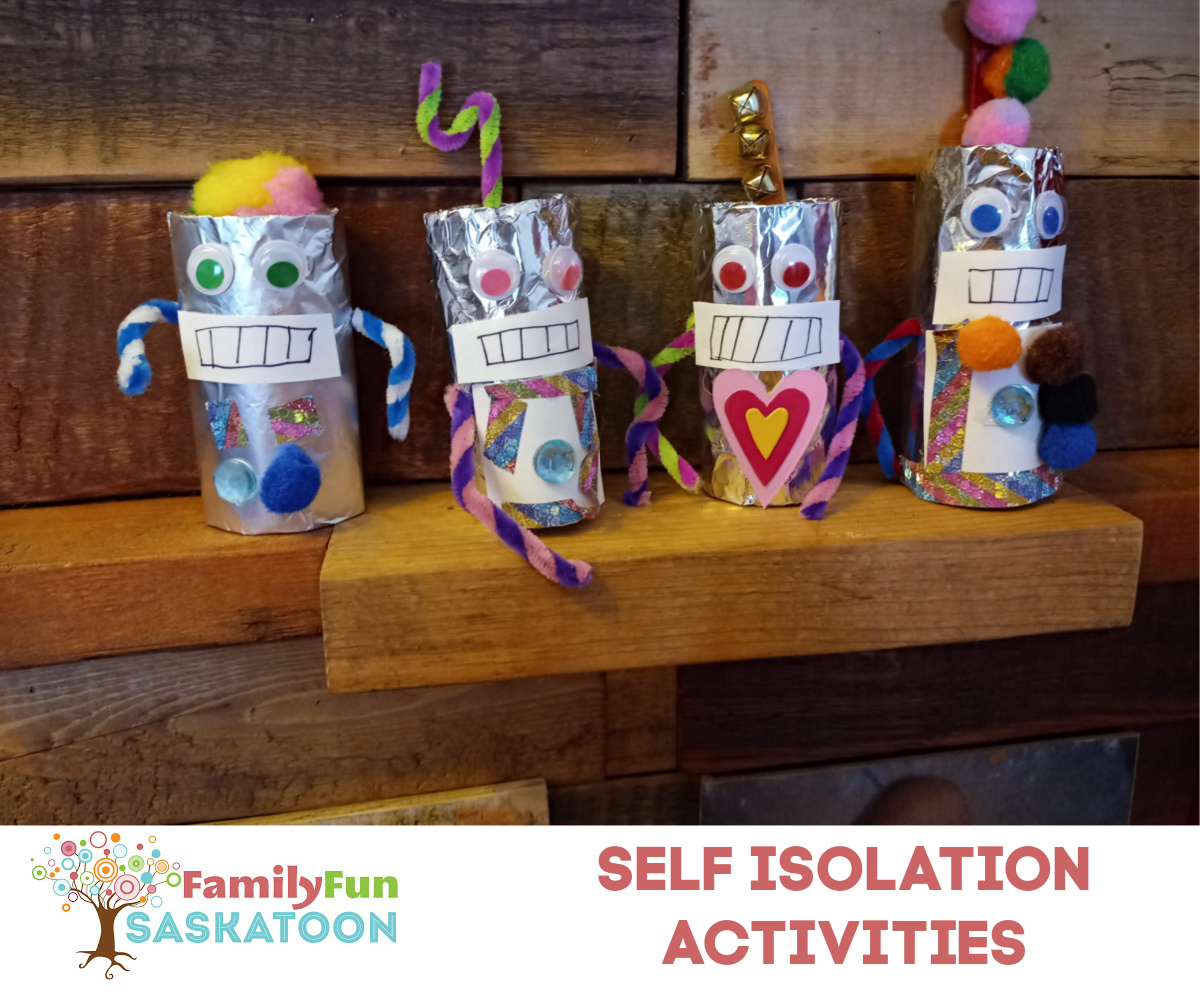
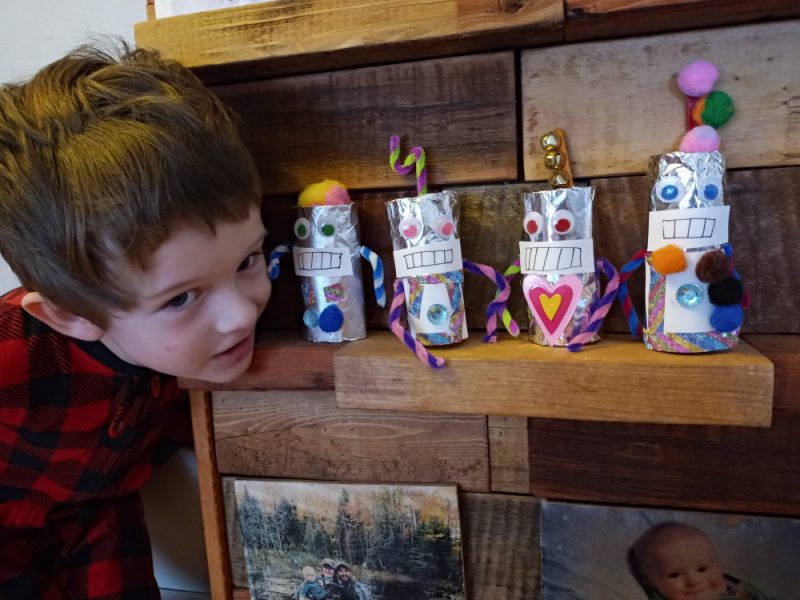
This was an easy day, and a surprisingly easy craft idea. We made robots using toilet paper rolls, tin foil, craft eyes, and any other things we found in my craft section that would work on the robots. (I have a whole container of eyes in my cupboards.) We both had fun and they turned out to be pretty cute. I would highly recommend this craft to any robot-loving kid. Just save your toilet paper rolls, and you’re all set!
Day Two
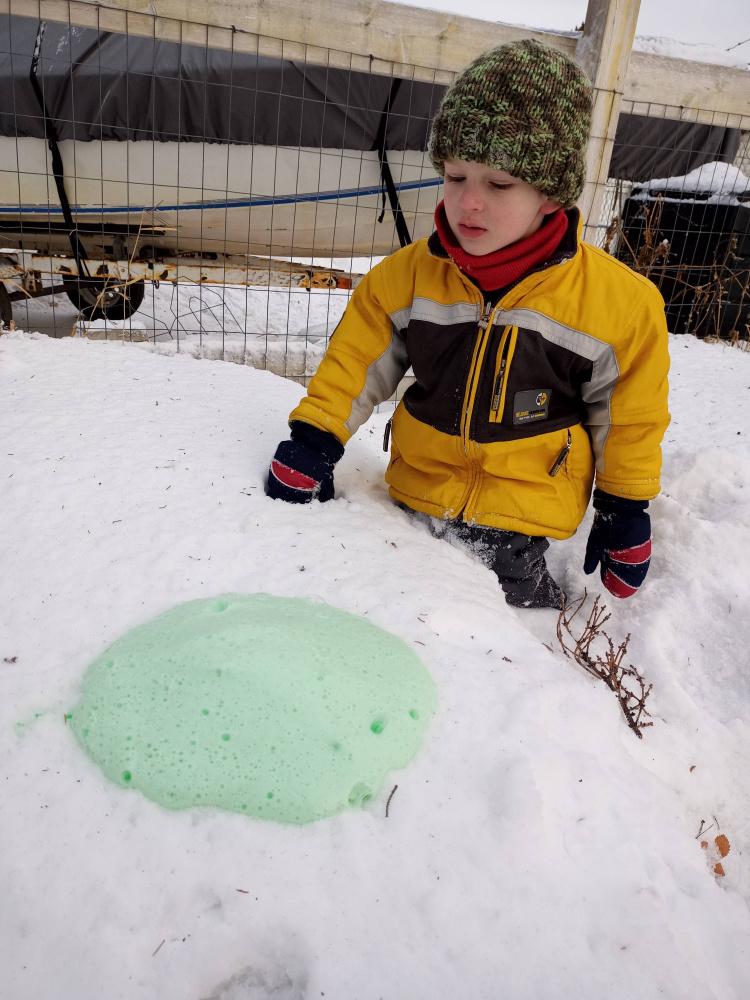
On day two we spent quite a bit of time outside so we decided to make a snow volcano. This one is pretty easy. You use vinegar, baking soda, dish soap, and food colouring. Put it in the snow, and pour in the vinegar. My son loved it and ended up driving his toys through it as well. We did have to wash his mitts after because they had a strong vinegar scent!
Day Three
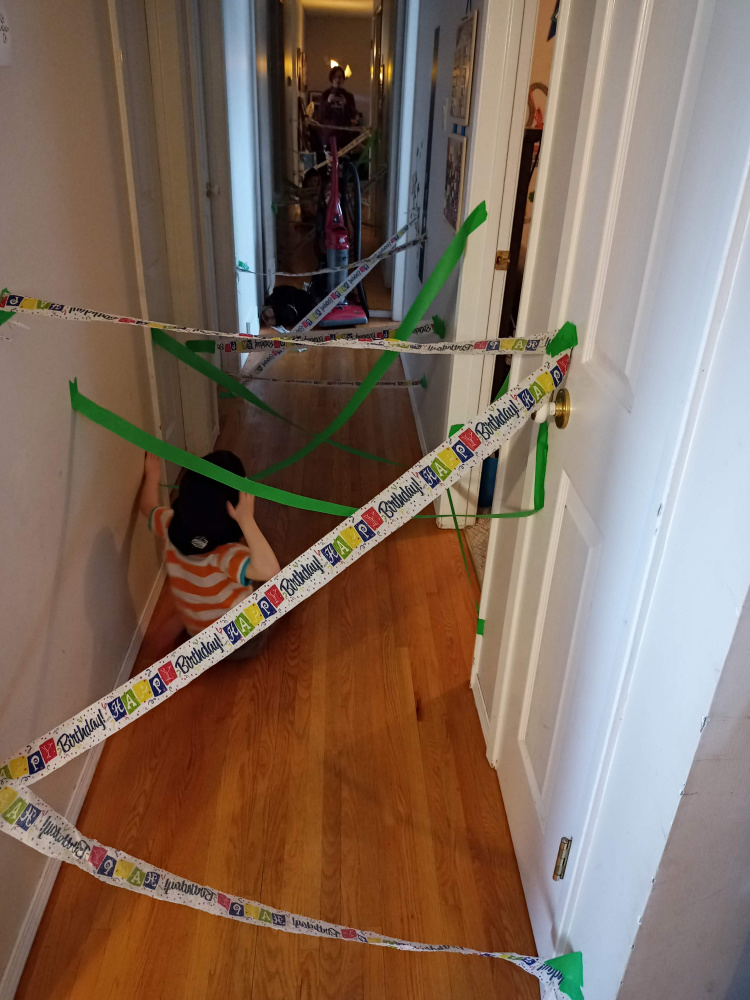
Our big activity was a lot of prep work. In my opinion, it was a bit of a letdown. We decided to make a laser beam ninja trap for my son to crawl and jump through. We did it with what we had in the house. It turned out to be Happy Birthday streamers, and when we ran out of that, we just used the painters’ tape. My son really enjoyed it the first two times he went through, but as he got more excited, more of our “laser beams” came off the wall. It’s safe to say it didn’t last long. All you need are streamers (or something like that) and tape.
Day Four:
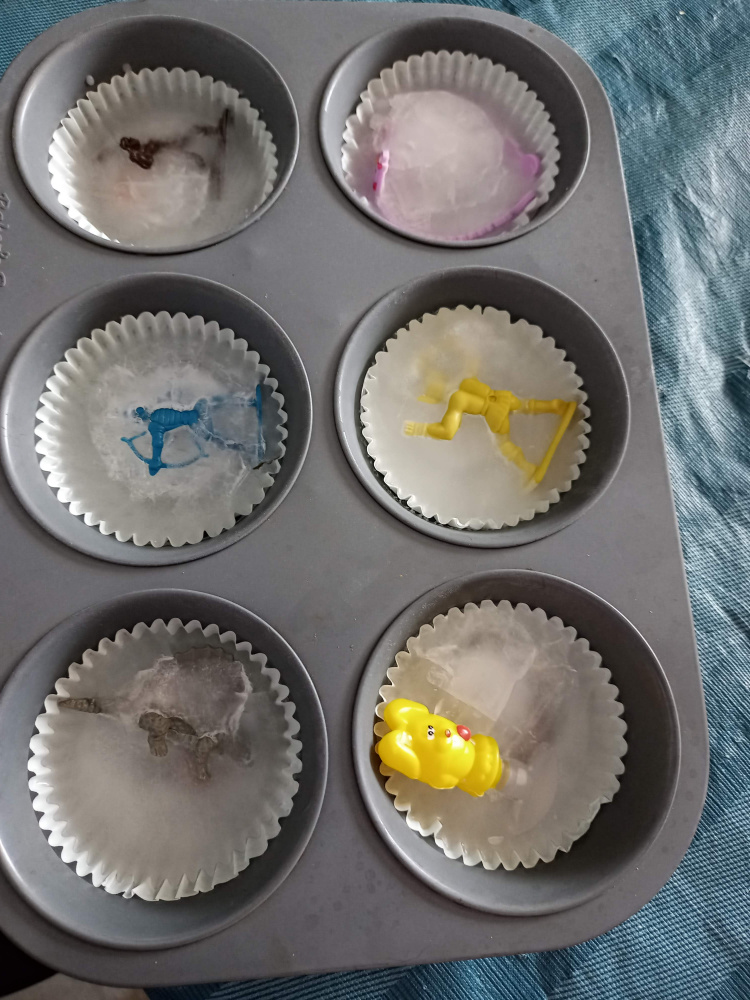
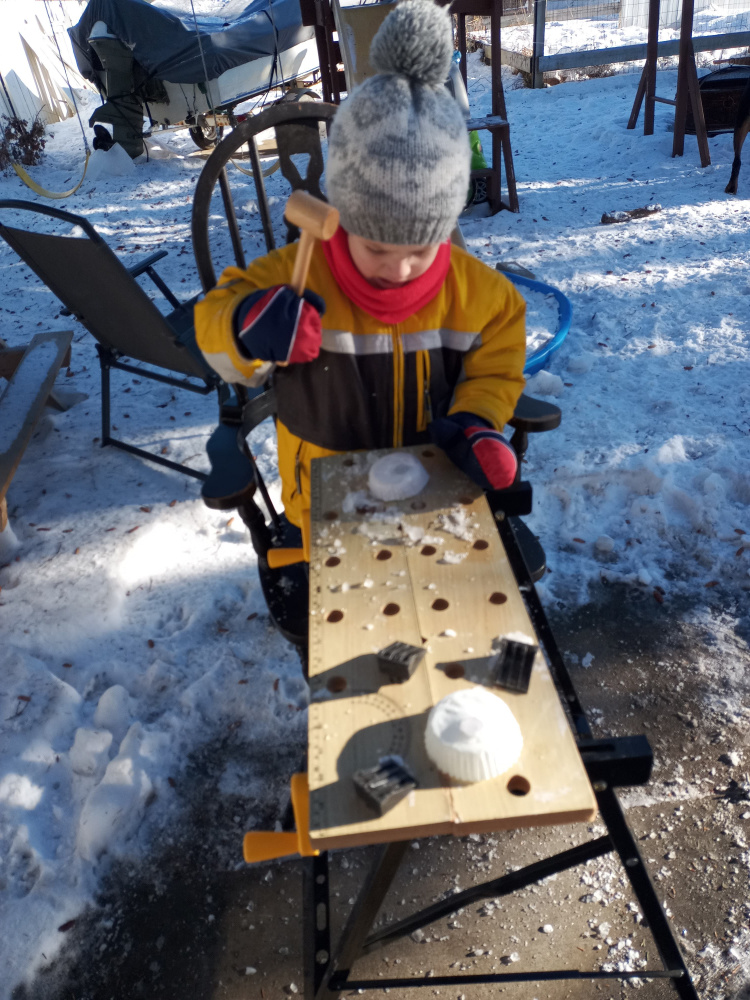
I liked this one. The night before, I stuck some toys in a muffin tin with water and froze them. The next day, my son went outside and hammered them out! He had a blast and so did I. Luckily, he was okay with the fact that I used his own toys for him to get out. (He usually wants new ones.) All you need is little toys, water, and something to freeze it in. I chose the muffin tin because it was bigger.
Day Five
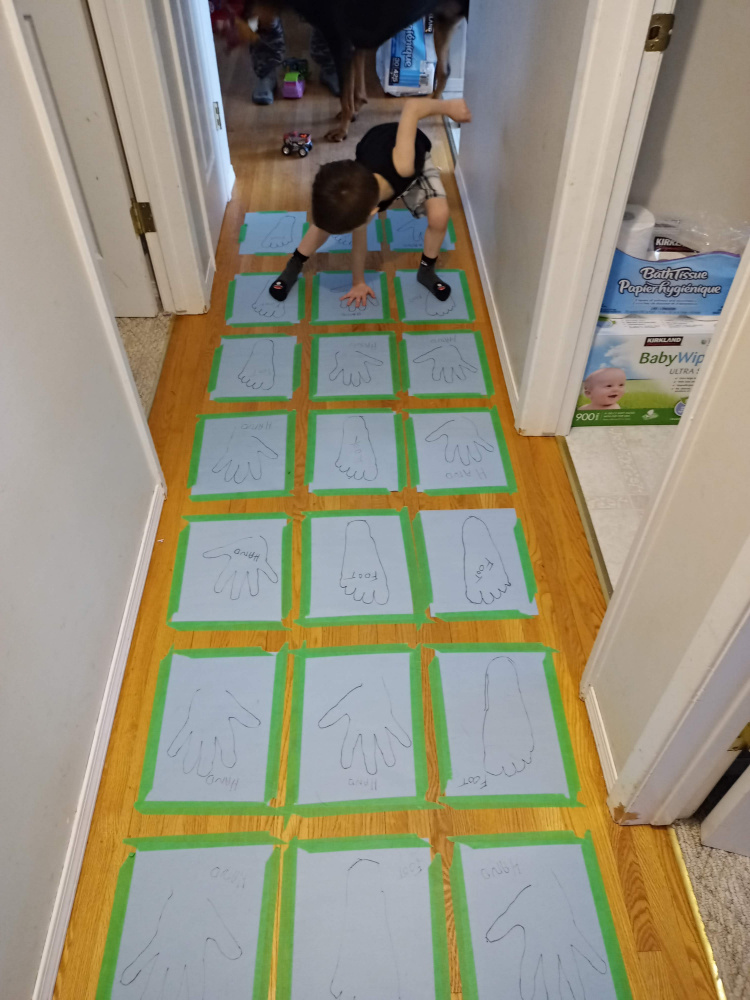
Another fun one. I taped papers on the floor. Three in a row. In each row, I added feet and hands. It was kind of an easy twister. When I was done, he had to go on each row putting his hand on the hands and feet on the feet. He had a lot of fun. Unfortunately, even though I had the paper taped down well, it only lasted a day and a half. All you need is paper, a marker, and tape. I used painters tape.
Day Six
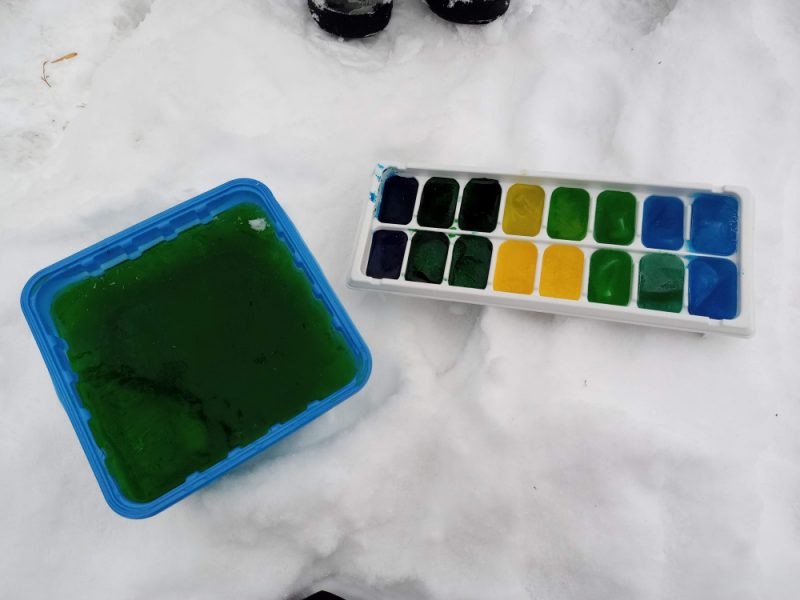
We needed another outside activity. This was easiest. Coloured ice. That morning, I put food colouring in the ice, and it was ready by the afternoon. My son had a great time with it. We added in diggers and a dump truck, and he had a blast. He also used it for monster truck jumps. All you need for this is food colouring and water! You can make ice sculptures or just use them to play.
Day Seven
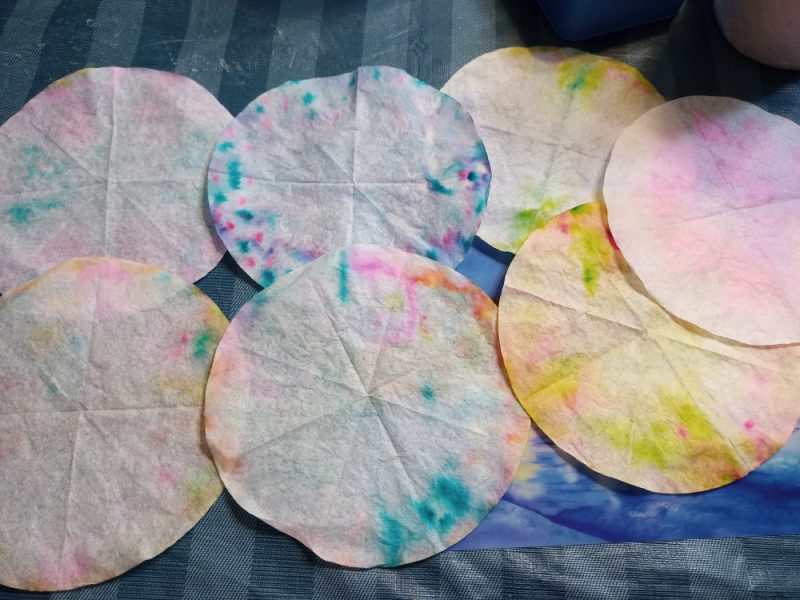
We tried to tie-dye coffee filters. It was interesting to watch the colours blend in, but I don’t love the result. We just coloured half of the filter, and if I did it again, I would choose brighter colours and colour the entire thing instead of just half. We haven’t done anything with them yet. I had planned to hang them on the window as they are, but we might make them into peacocks at a later date. As you can see, they didn’t end up perfect. That doesn’t really matter though. My son loved colouring them, and he also loved dipping them into the water and watching all the colours mix together. All you need for this are coffee filters, markers, and water.
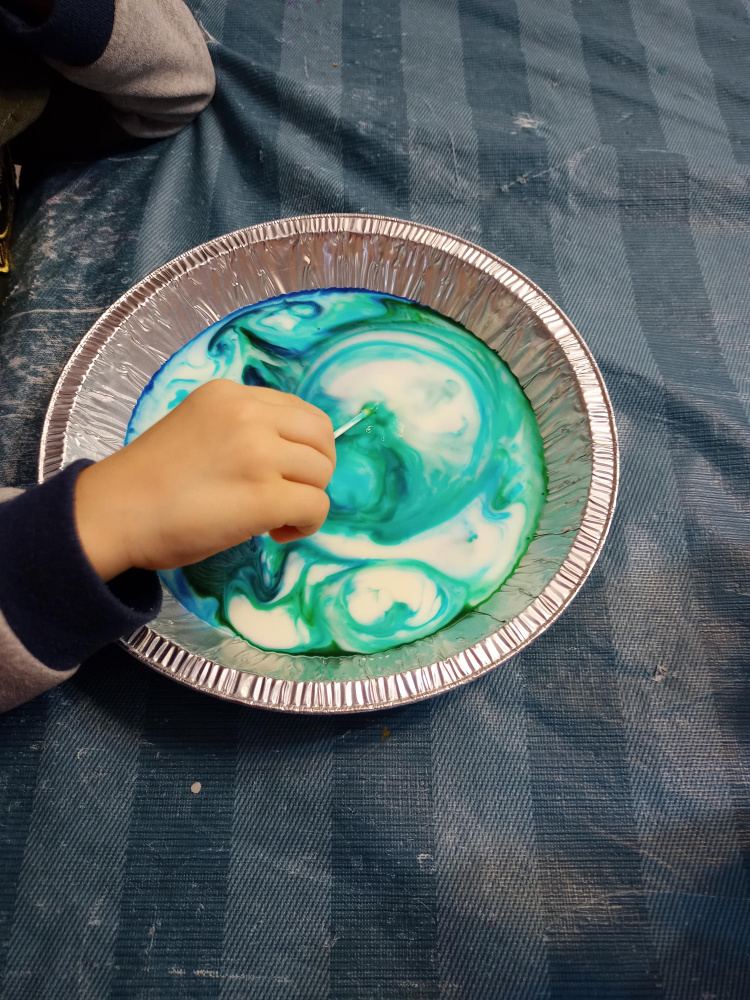
We did a science experiment in the afternoon. We put some milk and food colouring together, and then my son put in a q-tip with dish soap on it. The result was really cool. We tried different colours, and both of us loved it. All you need is milk, food colouring, q-tips, and dish soap.
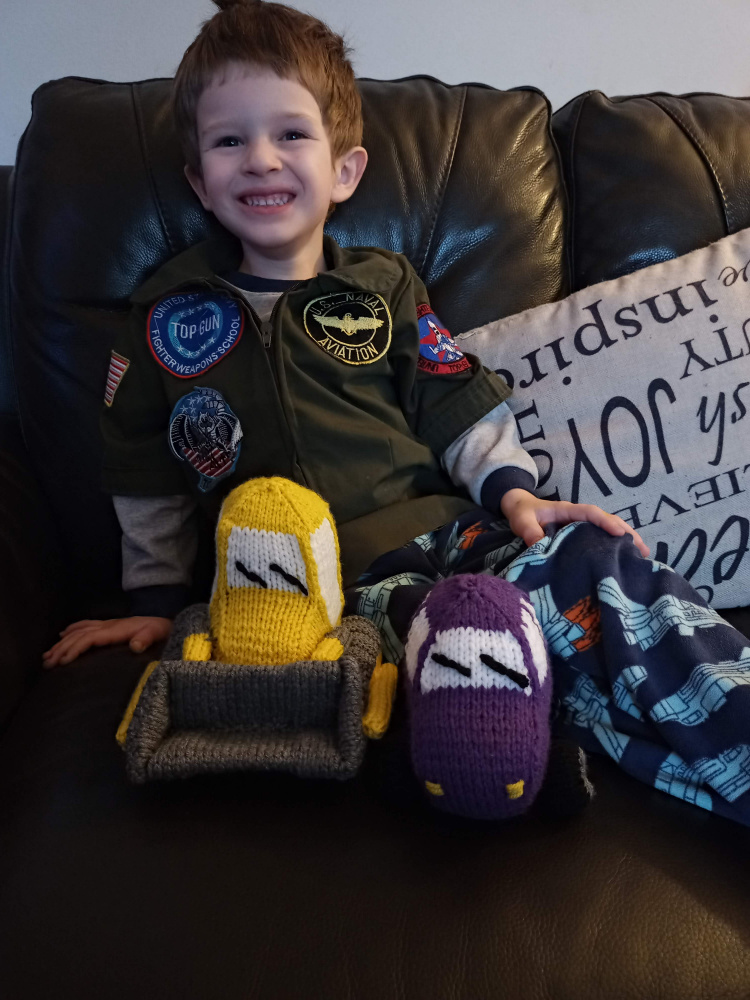
We were also lucky because my mom dropped off something really fun for my son on our doorstop this day. She made these amazing knitted vehicles. He loves them! They kept him busy for quite a while. My son loves imagination play so these guys were perfect for him. He named them Mini and Ben.
Day Eight
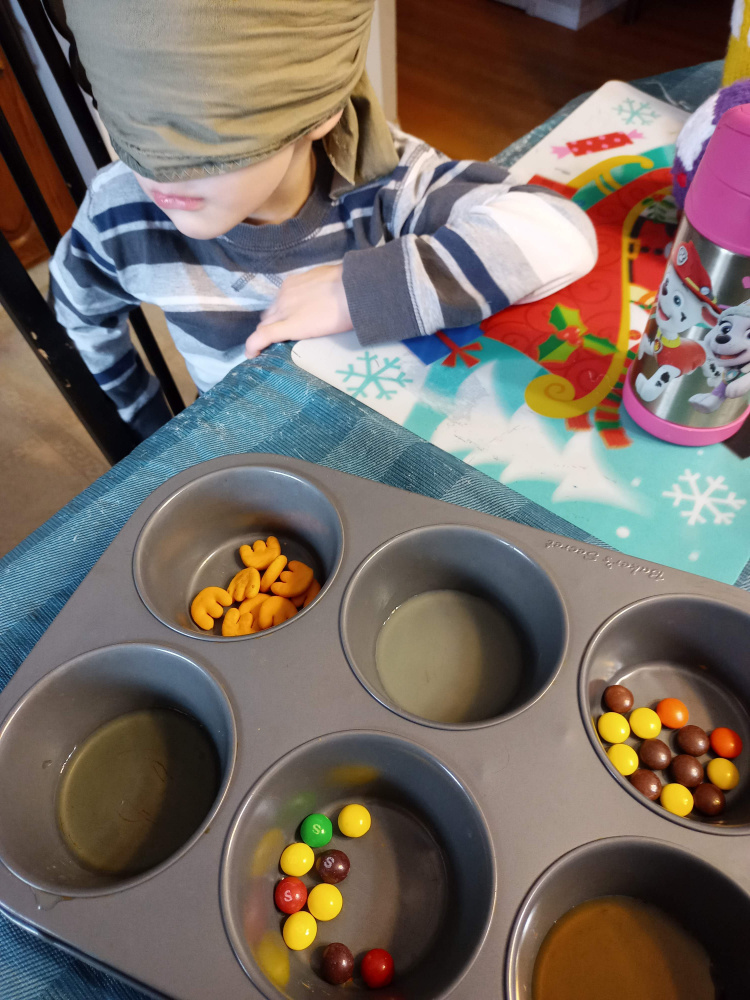
We had another successful day. In the morning, we did a taste test challenge. I gave him different things to try, and he had to guess what he was eating. He liked it all except the lemon juice. I just used anything we had available, but will probably try it again with different options. We had skittles, bear claws, Reece’s Pieces, lemon juice, maple syrup, and pickle juice.
We were very lucky in the afternoon because my friend did a drop off for our last couple of days. She gave me a bag full of amazing activities for my son. He even had a pinata! We did that after his Pre K online class, and he could barely contain his excitement!
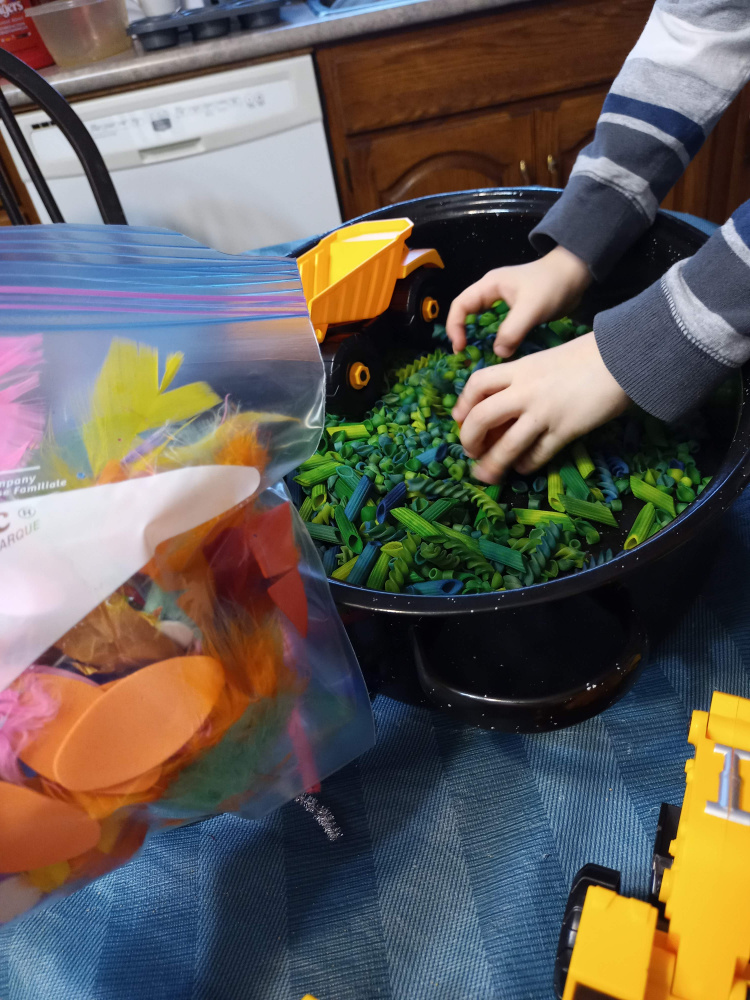
I also wanted to share our sensory roaster. We use a roaster so he doesn’t spill things out, and because we had a spare one. My friend sent over coloured macaroni. We also use feathers and foam items. You can use anything you have on hand. We’ve used sand before as well. He usually plays independently for a half-hour to an hour with his diggers.
Day Nine
This was also our last day in isolation. We didn’t find out about his classmate until a few days after the positive test.
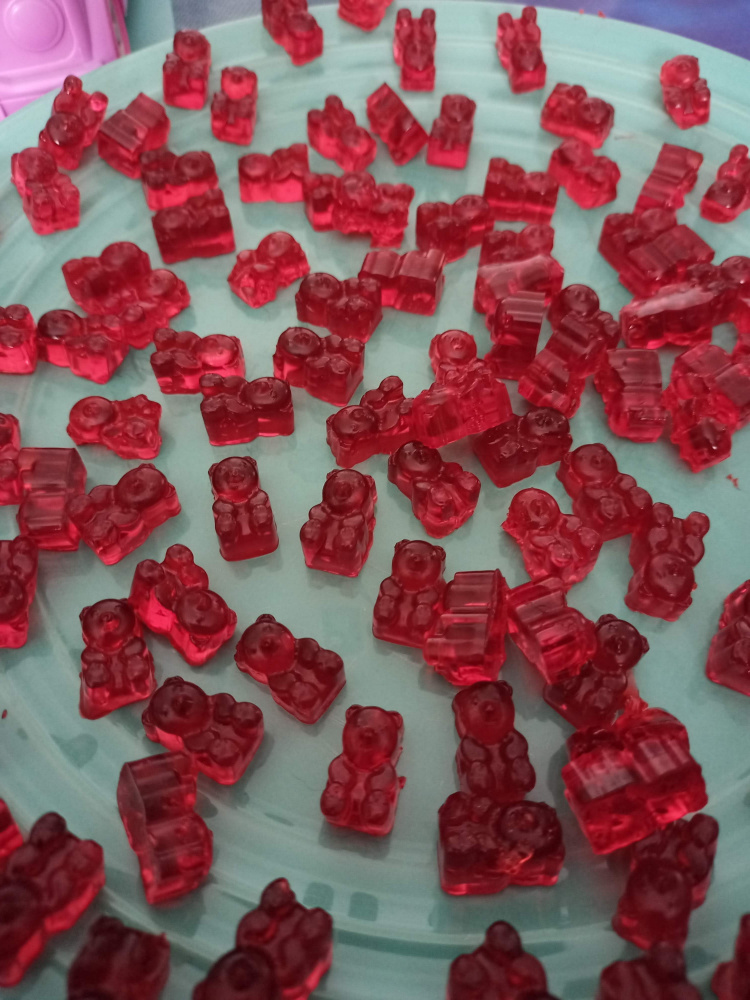
My friend dropped off the amazing quarantine package, and one of the activities was gummy bear making. To make these, we used a tablespoon of gelatine, (the package came with the correct amount), water, jello, and a silicone gummy bear mold. These were all in our package. She also sent the instructions in a text message. We mixed half a cup of cold water with the gelatine, and let it dissolve. We added another quarter cup of cold water. After it was all mixed in, we microwaved for about a minute so it was warmer. We added the jello package and mixed it. Then we filled the molds! We let it chill for about four hours. It is VERY hard for a preschooler to wait that long. (And for me.) More specific instructions can be found online as well.
We also had some library crafts on hand, as well as some other crafts I had purchased but not used yet. They come with all the instructions and everything you need to glue, cut or colour. They are very useful, and I will always grab/buy some if I have the chance. You never know when you need a craft.
Nine days in self-isolation. We did this at the start of the pandemic for longer, and this time it went more smoothly. It was nice because I knew when it would end, and because my partner was home to help me. We survived, but not only did we survive, we also laughed, played, and did a lot of activities. I know we will survive if it happens again. We also made it through the isolation Covid-free. That’s what I am most grateful for. I hope if you get stuck in isolation some of these activities will help you get through it. We’ll probably be using some of them again even if we aren’t stuck at home. While I am full of gratitude for the time together, I am also excited about getting back to all the activities Saskatoon has to offer!
If you’re stuck at home don’t forget to check out Saskatoon Public Library Programming for some online help. You can also download a library app like Libby for books and movies!

